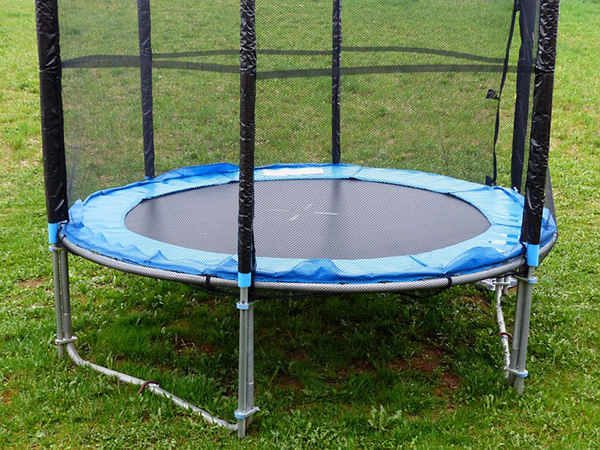
Trampolines can be a lot of fun for kids looking to enjoy the nice weather on a warm, summer day. Hopping on those hyper-bouncy surfaces has been a favorite pastime of young people for decades. Even adults can enjoy a good jump for exercise or even just for fun. So if you’re thinking about forking over the dough to get a setup of your own, know that you’ve got another option than the traditional model: an in ground trampoline.
In-ground trampolines are trending mostly because they’re aesthetically pleasing. It simply looks nicer to have your trampoline at ground level than having a bulky steel frame taking up more yard space. Some also believe they’re safer, as you have less room to fall. So if you join the ranks of the hundreds of other in ground jumpers and add a fun new feature to your yard, here’s what you’ll need to know to install your trampoline in ground.
Is There a Specific Type of Trampoline That Goes in the Ground?
There are several different trampolines on the market today, and several of them are designed specifically for in ground systems. For instance, ACON, AirZone, BERG CHAMPION, and Blue Wave (among others) all offer in-ground models. However, it is possible to buy a regular trampoline and make it a do-it-yourself project.
It should be noted that, if you do go with an above-ground model for in-ground usage, you may run into some road blocks along the way. You may have to modify the product significantly, and you’ll likely be putting in who knows how many extra hours of work. Though an in-ground model may be more expensive, it may also be worth it to pony up and pay up in the long run.
What Tools Do You Need to Install an In Ground Trampoline?
There’s no exact formula for how to do this and every case will require a different toolset. Still, here’s a list to give you an idea of the things you might need to undertake this task.
Digging Equipment
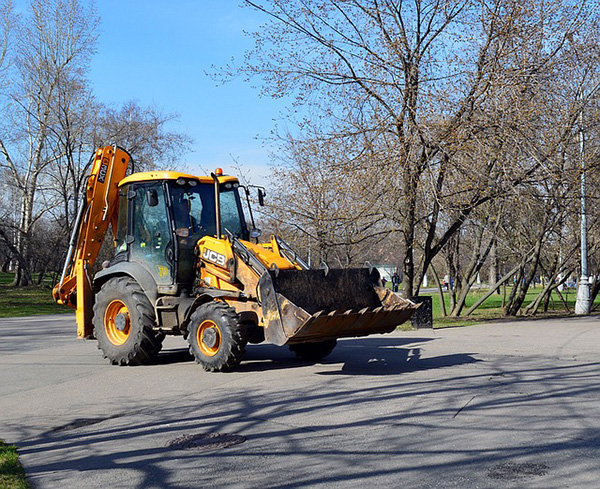
An in-ground trampoline goes, well, in the ground. That means you’re will have to start digging. Depending on which model you buy, how tall the frame is, and how you’re going to set it up, you will probably need a backhoe. Renting one from a local heavy equipment company or hiring a professional might be in your near future if you want to put your trampoline in the ground.
Retaining Wall Material
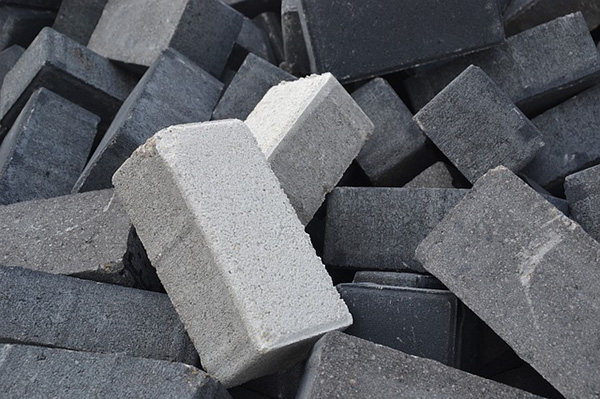
In-ground systems should have a sturdy retaining wall. Constructing one has the benefit of keeping everything in place; no slippage from heavy rain or other incidental factors are going to mess up your fun with one of these bad boys. Stone blocks or cement are recommended if you want to build a wall that holds up under pressure and meets all your needs.
Draining Equipment
It’s important to think about how you will deal with the water that will undoubtedly make it underneath your trampoline from rain, snow, sleet, or even just runoff from gardening or a nearby pool. You could end up with a rust problem or attract unwanted insects; the last thing you want under the place where your kids are spending all their time is a mosquito infestation. Planning ahead by purchasing some perforated drainage pipes or similar draining equipment could save you a lot of hassle later on. It’s even better if you can find a way to drain them into a storm drain or gutter.
Enclosures
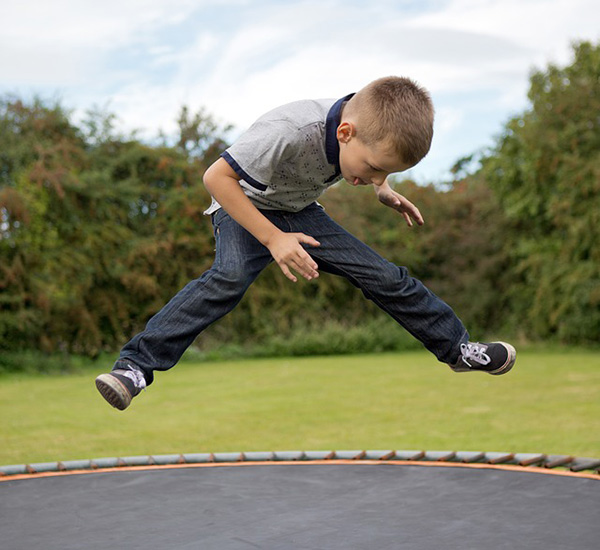
Though some are under the impression that in-ground trampolines are safer than the alternative, that may not be true. You can still fall from up to six feet in the air, and if you’re falling onto a stone or cement retaining wall, it can be even more dangerous than if you were on an above-ground model and found yourself with a mouthful of grass and soil. It’s highly recommended that if you go with an in-ground setup that you also buy a safety net enclosure. This is much better than having to pay pricey medical bills.
How to Install an In-Ground Trampoline in Your Yard
Now that you know what kind of trampoline you need and have a pretty good idea of the tools you will have to use, it’s finally time to get started and put your in ground trampoline in the ground!
Pick a Spot
The first step in the process is to map out exactly where you want your trampoline to go. Take your measurements and make sure you have enough room in the designated area; also ensure that it won’t be close to any objects that serve as jumping hazards later on. Keep in mind that you will have to do some digging, too; tree roots and large rocks could be a pain while excavating, and you may want to call your city planning office to confirm that you won’t be hitting any water lines or electrical lines. Again, it’s better than paying medical bills.
Dig It Up
Once you’ve got your measurements, mark out exactly where your hole will go (a can of spray paint may come in handy here). Don’t forget to leave room for the retaining wall; that’s going to be important. Also, most in-ground trampolines need an outer hole and an inner hole. The outer hole is shallower, as this will be where the frame and retaining wall go. The inner hole should be deeper so that the trampoline mat can go downward with nothing to interfere.
Start by digging the outer hole. Knowing the height of your trampoline will be important, but they’re generally somewhere between twenty and thirty centimeters deep. Make the whole hole this deep to start with, and then you can go deeper in the center when it’s time.
The inner hole should be about twice as deep as the outer hole. One option is to curve the hole on a grade; that way it takes a bowl shape at the center of the pit. However, you can still just dig the required depth at every point and be fine. It’s totally up to you and whatever you deem more expedient.
Set Up the Frame
It’s time to bust out those handy instructions your trampoline came with. Give them a quick read through to see how to set up the frame. It’s important that you act like a perfectionist when it comes to this part; a frame that isn’t sturdy could literally become a death trap. Don’t skip steps and don’t do it the easy way; make sure you’re following the guide.
Put Together the Mat and Springs
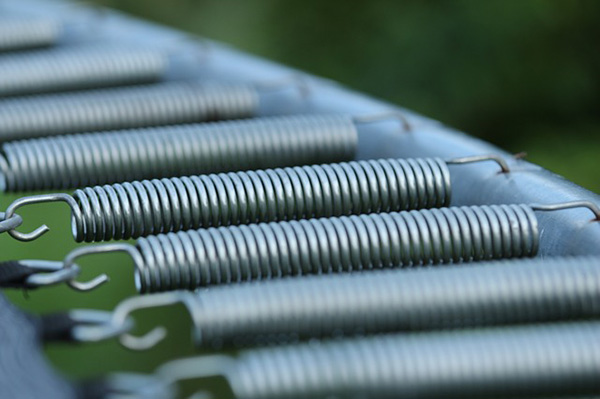
If you’ve ever put together an above-ground trampoline, you should be familiar with this part. Line up your springs, v-rings, and frame holes and ensure that you didn’t accidentally leave one out. Then it’ll be ready to set in the hole.
Set Up the Retaining Wall
If your model came with an inner wall or you have a quick way of doing this, then great. If you decided to pour concrete, then it’s a good idea to do this before moving on to the frame, mat, and springs or else it’s just going to clutter your yard. You also might have been given an anti-weed layer depending on how your model handles the frame and wall system. This is a breathable fabric that you can put over your hole to keep weeds from growing up your frame and springs. Nifty, right?
Fit the Trampoline
You’ve made it to the end of the line: nice job, and congratulations! The only thing left for you to do is pick up the trampoline and put it into the hole so the frame sits on the outer hole’s edge. Afterwards, back-fill the perimeter of your hole with dirt. It’s imperative for your in ground trampoline to be snug, but you’ll also want to leave a little space between the mat and the ground so it can breathe properly and not affect your bounce. Just be careful not to trip when getting on!
If you purchased a safety net enclosure (and we once again strongly suggest you do), now’s the time to put it on. After that, give your helpers some high-fives and get to jumping!
Conclusion
Trampolines are a great way for kids to have some fun when the weather’s nice, and adults can also enjoy jumping as well (admit it; you like to bounce too). An in-ground trampoline is a great option if you want to have the most aesthetically pleasing yard possible and keep up with modern trends. So whether you’re wanting it for yourself to exercise, for the kids to keep them out of your hair on a hot summer day, or to practice your sweet dunks on a nearby basketball hoop, now you know how to install an in-ground trampoline.
Leave a Reply