Step 1: Read the Manual and Review Materials
The first step you need to take is to go through the manual. The information you’ll find there can confirm that all the necessary parts are included in the package. After all, there’s no point in learning how to assemble a trampoline if there are parts missing. It will be frustrating to realize that you’ve made a lot of progress in assembling the trampoline only to find out later on that you can’t even fully assemble it.
What’s more, the trampoline will take up a lot of space, so you’ll have to end up disassembling everything which doubles your effort. In the case that you find that there are missing or defective parts, either contact the manufacturer for replacements or return your package for another one.
Step 2: Lay Out and Organize the Parts
To make the process of assembly as easy as possible, you want to take the parts out of the package and organize them. To get them in order, you have to group parts that are the same and also place them near parts that will be used together.
For example, you’ll want to group the rings and legs together. Remember, when you’re learning how to assemble a trampoline, you want to make it as simple as possible to put everything together. Otherwise, it’ll become frustrating trying to sort through all the parts as you go.
Step 3: Grab All the Necessary Tools

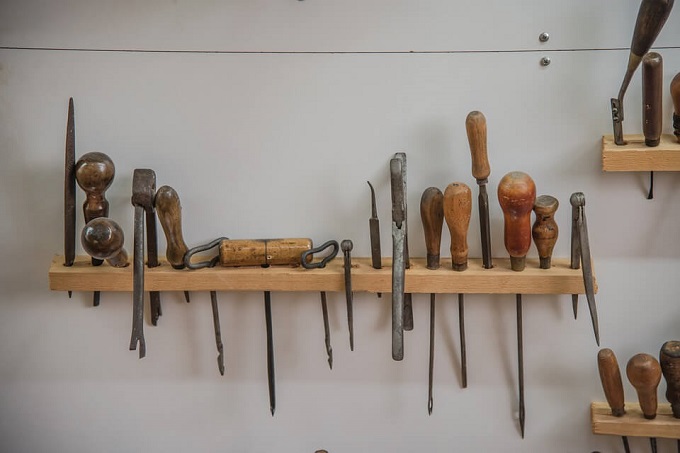
You’ll need several tools to assemble your trampoline. Such a product usually calls for the following utensils:
- A power drill.
- Spring puller.
- Screwdriver.
- And a hammer.
If you need a power drill, you don’t necessarily have to buy one. Large retail hardware stores will lend you power tools in exchange for a small fee. This solution is cheaper than buying a power tool you’ll only use a couple of times.
Step 4: Assemble the Frame and Legs
Now that you’ve finished prepping, it’s time to start the real work. The easiest way to start assembling the trampoline is to bring the frames together. The frame will form a circular shape and will hold the actual mat together later on.
Some trampolines may also come with a net enclosure. Installing these usually consists of adding posts to the aligned legs of the trampoline.
Step 5: Set Up the Mat and Springs
Once you have the foundation of your trampoline set up, move on to installing the mat and springs. All you have to do now is to attach the springs to the rings of the mat and the slot created on the frame.
For safety reasons, do not attempt to pull the springs using your hands. There is a lot of tension that will be created as you pull the springs. As a result, if your grip slips, it can lead to serious injury. Therefore, at this point, you should use the spring puller. Usually, this tool also comes with the trampoline package. Here’s a visual guide that shows you how to get done with the springs in a jiffy.
Step 6: Secure the Springs on the Frame
After you have the springs attached to the hooks/rings of the mat and frame, look for slots that help secure the springs. What you need to do is to take a hammer and lightly tap the spring into place.
This safety measure will prevent the spring from moving sideways as the trampoline mat is jumped on. This is an important step that is sometimes missed when people learn how to assemble a trampoline.
Step 7: Set Up the Protective Pad
There’s little left so far in the project now. However, don’t forget about the protective pad. This type of sheet is designed to protect both you and the springs when you land on the outer part of the trampoline. The protective pad usually has slots to match with the legs of the trampoline. These pads are secured by hooks, ties or Velcro.
Whatever material your model uses, make sure that it is properly secured. This way, it doesn’t hurt the person that lands on it and also so that the spring doesn’t come loose.
Step 8: Test the Trampoline

Once you finish assembling everything, you’ll want to check all the joints, screws, and springs to make sure everything is secure. Try lightly jumping on the trampoline first to see if you’ve assembled everything properly.
Leave a Reply